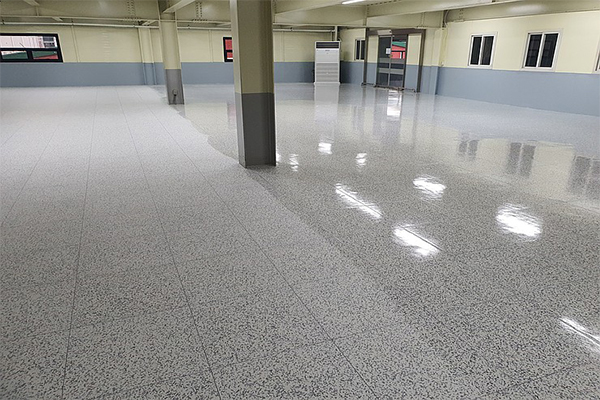
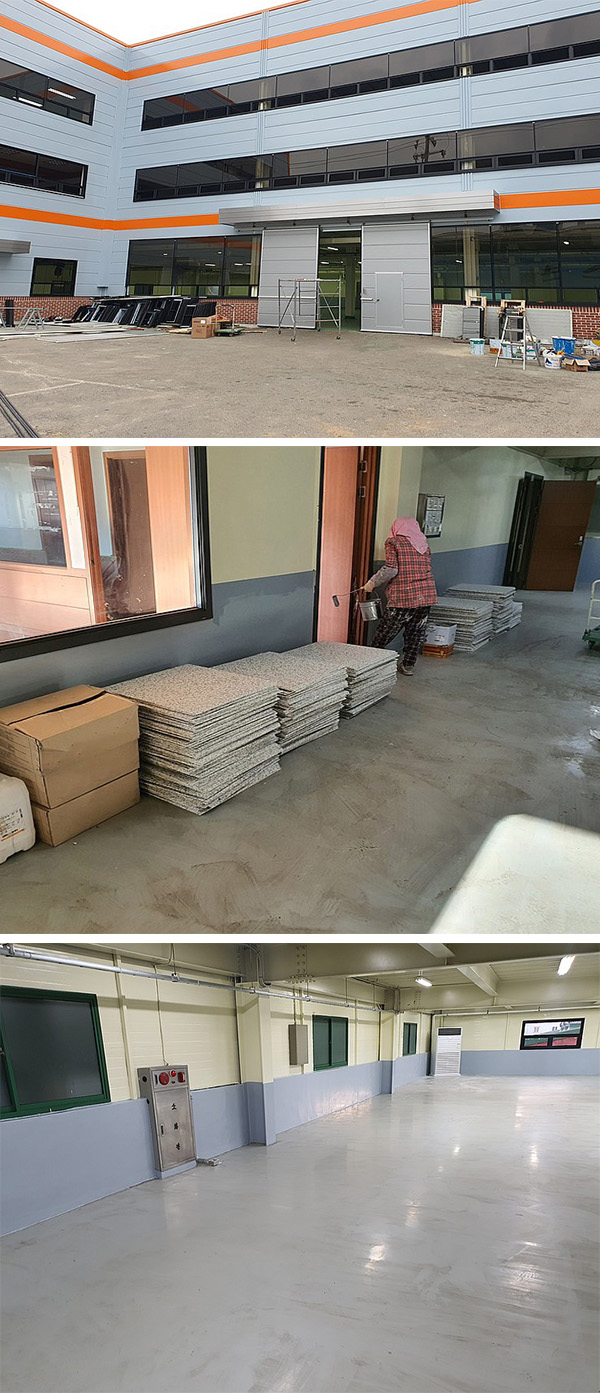
Now more and more electronic workshops use conductive PVC flooring (ESD tiles). Recently, the ESD tiles installation of an automotive electronic parts workshop (about 367square meters) was transformed and our ESD tiles were used. They were very satisfied with the installation effect.
Here are the steps of the ESD tiles installation, you can also check the pictures to know more details:
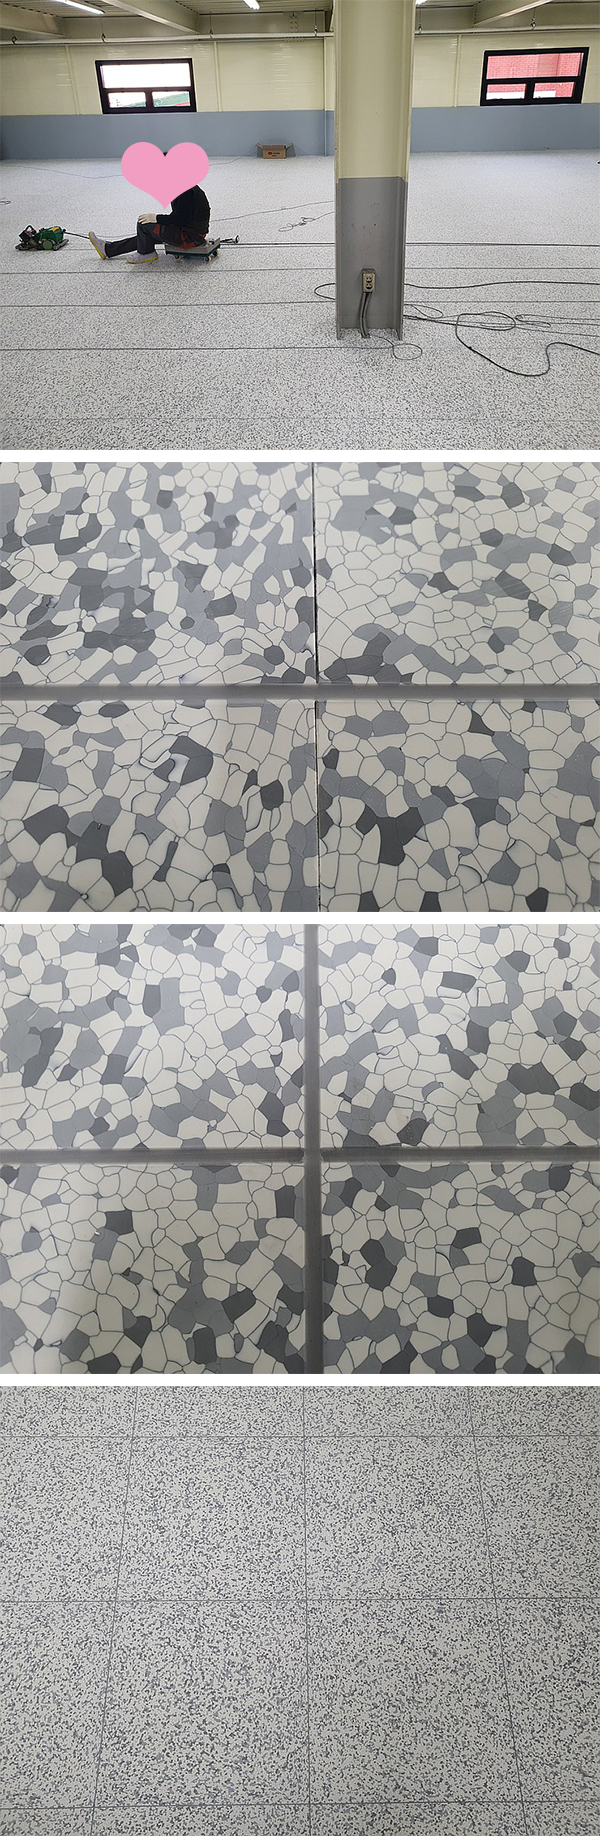
Step 1:
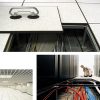
Clean at the construction site: use the sanding machine to deal with surface problems. Because the self-leveling surface may have small pores, particles and floating dust, or there may be height differences.
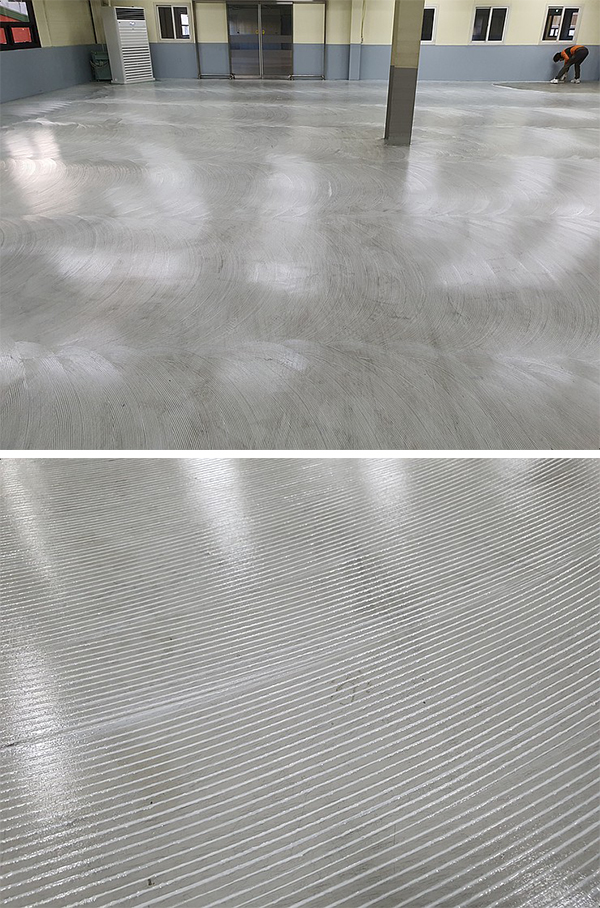
Step2:
Spread the conductive adhesive evenly on the floor and cure for 10 to 20 minutes. Wait for the adhesion to rise. Then start the installation.
Step3:
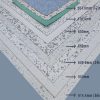
Glue the tiles, and put copper tapes inside the tiles to ground every 600mm.
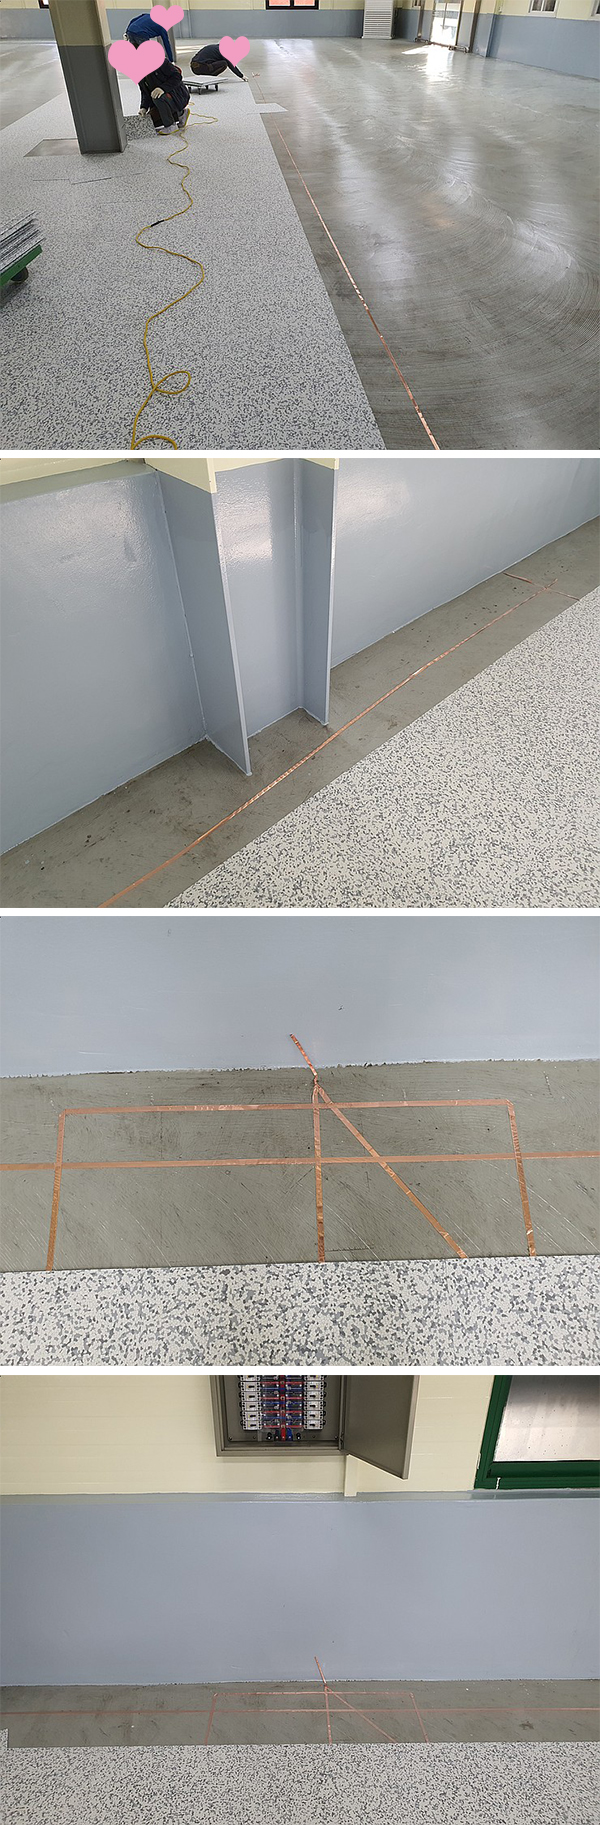
Step4:
Use a tile V-shaped cutter, cut about 2/3 of the floor to open V-Shaped groove.
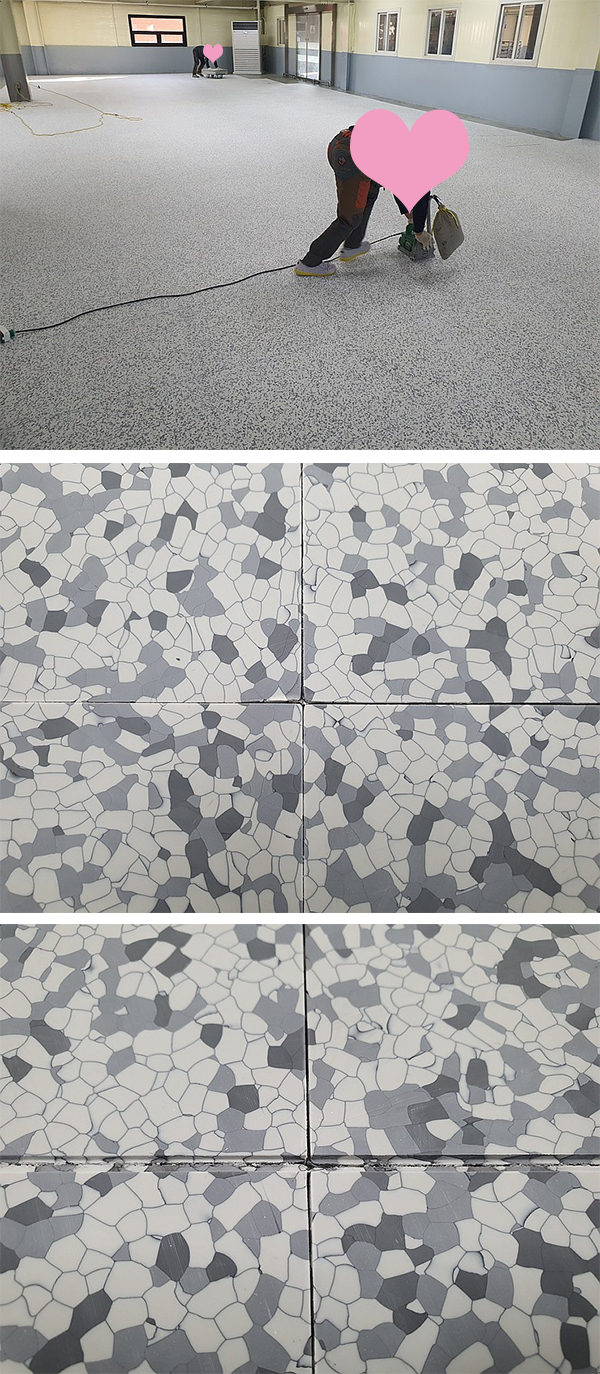
Step5:
Laying welding rods after installing the ESD tiles.
Step6:
Test electronic resistance and make sure it is an anti-static syatem. The electronic resistance is between 10^4 and 10^6Ω.
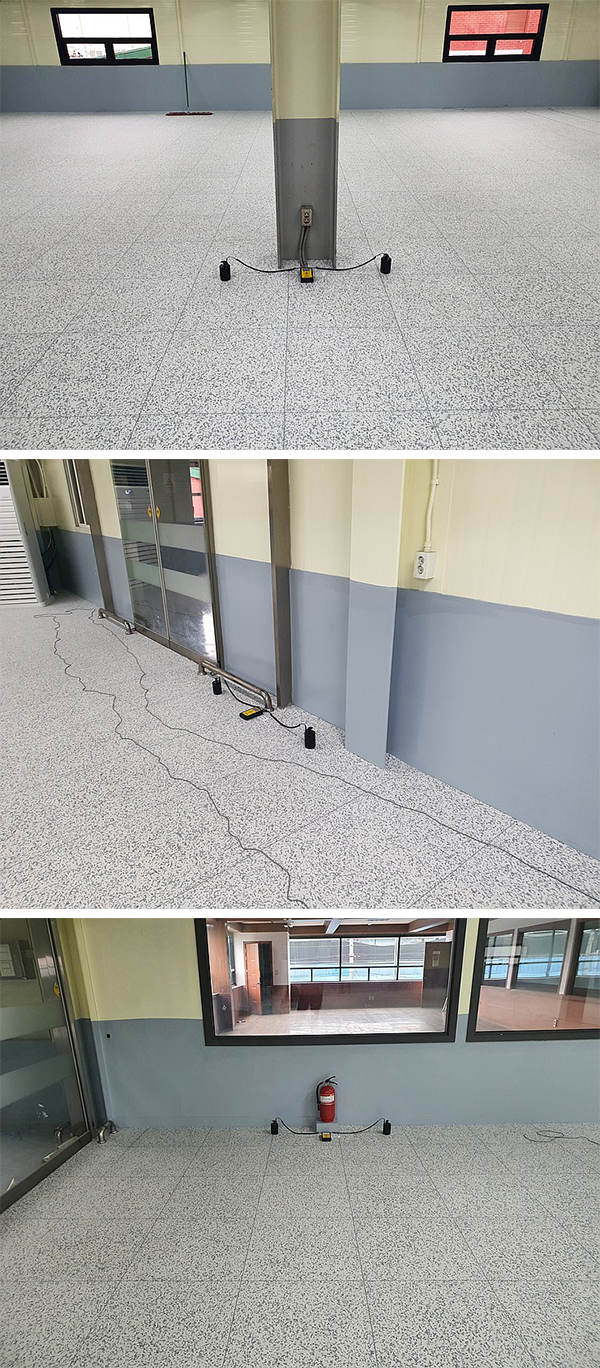
Welcome to visit this link about electronic resistance test: https://www.youtube.com/watch?v=fy4hCQCPjq8
Step 7:
Remove the dust on the installed floor and cover it with conductive wax and finish the whole process of ESD tiles installation.
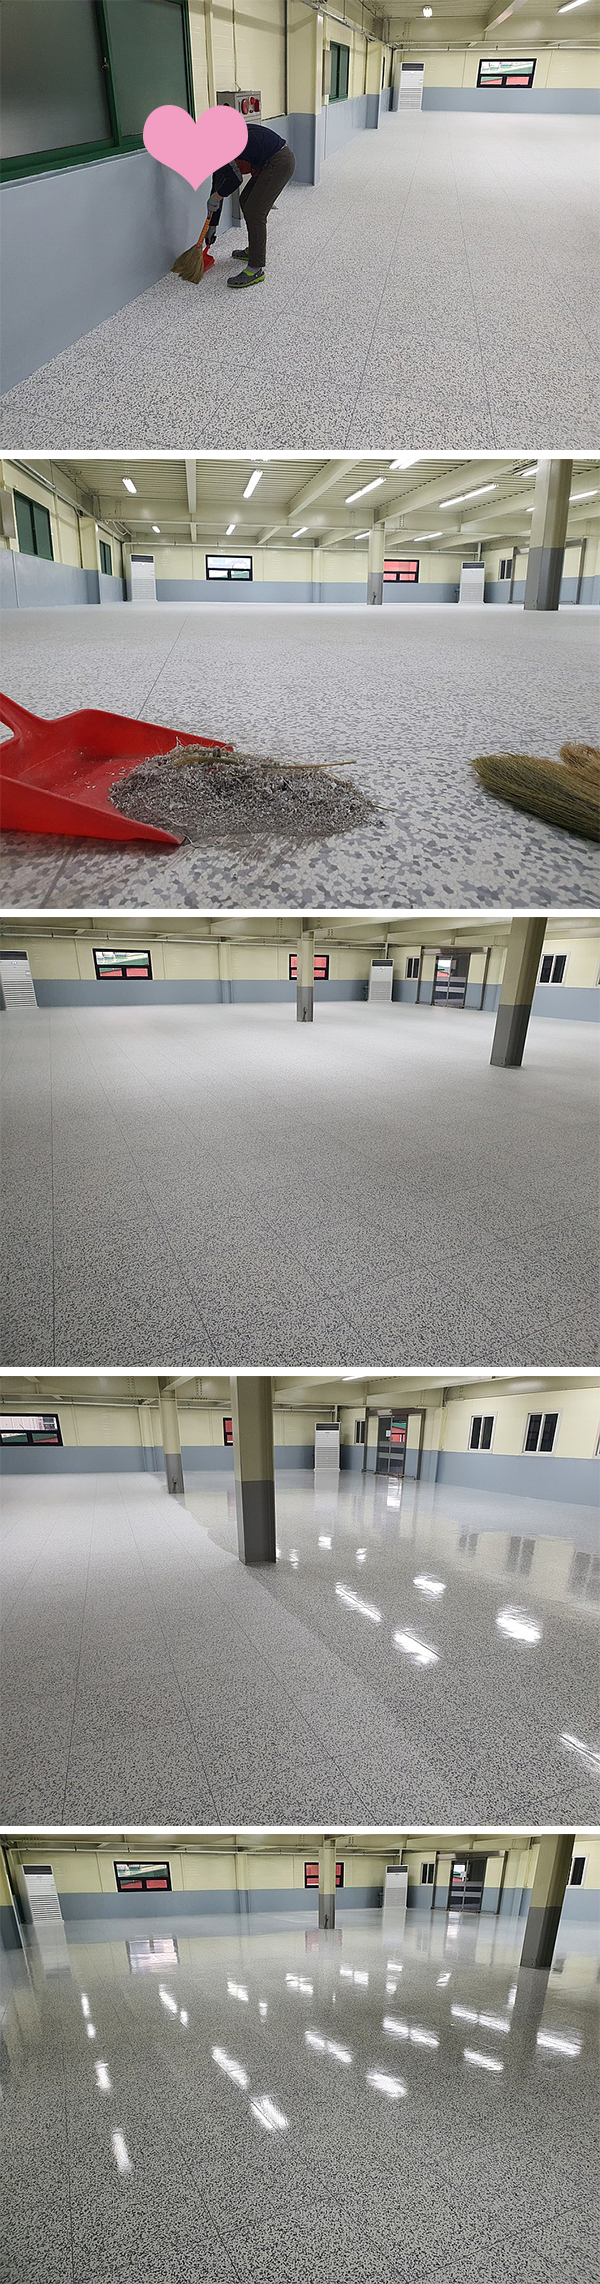
About detailed ESD tiles installation, welcome to visit this video: https://www.youtube.com/watch?v=3E69wAQDbec