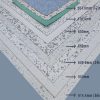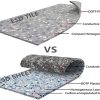
PVC conductive tiles ESD floor installation for the workshop of telecommunication devices
Latest new workshop( about 240 square meters) was transformed and our PVC conductive tiles were used. Here are the ESD floor installation as reference.
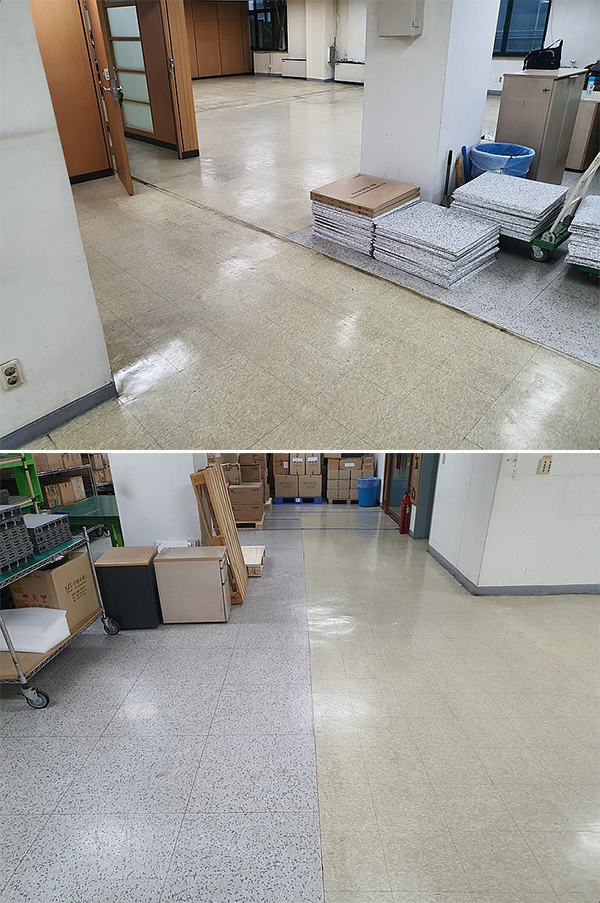
Step 1:
Clean the construction site.
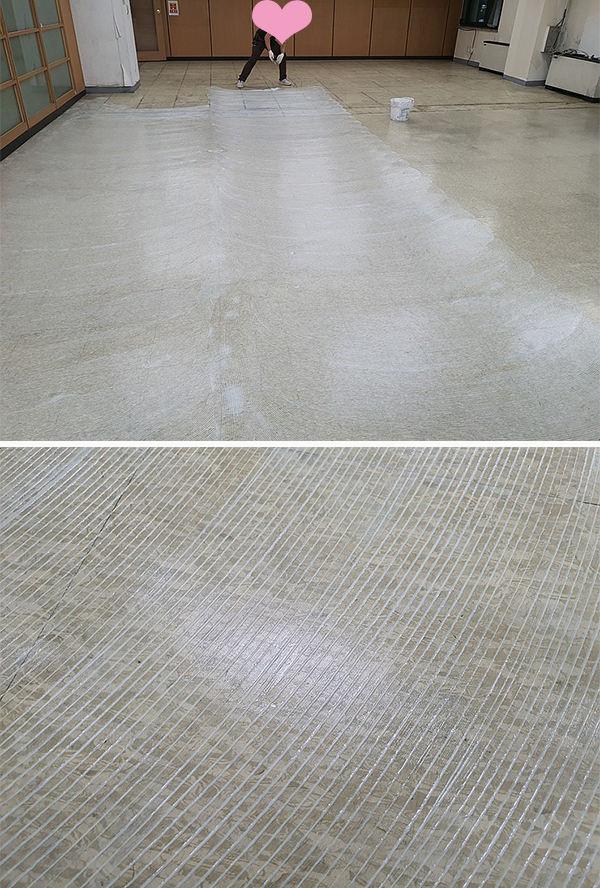
Step 2:
Spread the conductive adhesive evenly on the flooring and cure for 10 to 20 minutes.
Wait for the adhesion to rise.
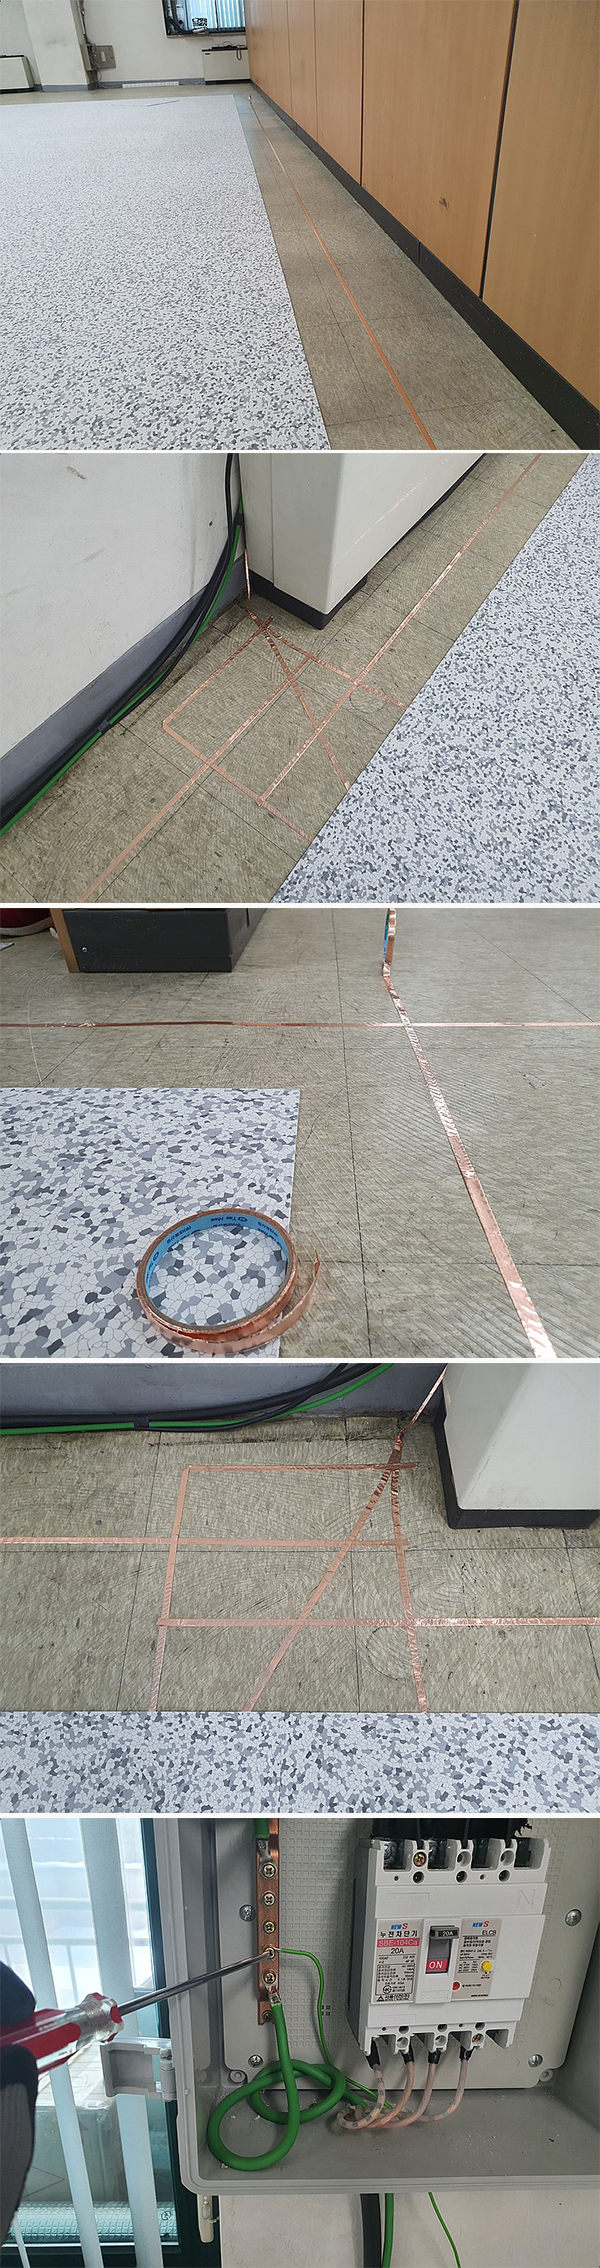
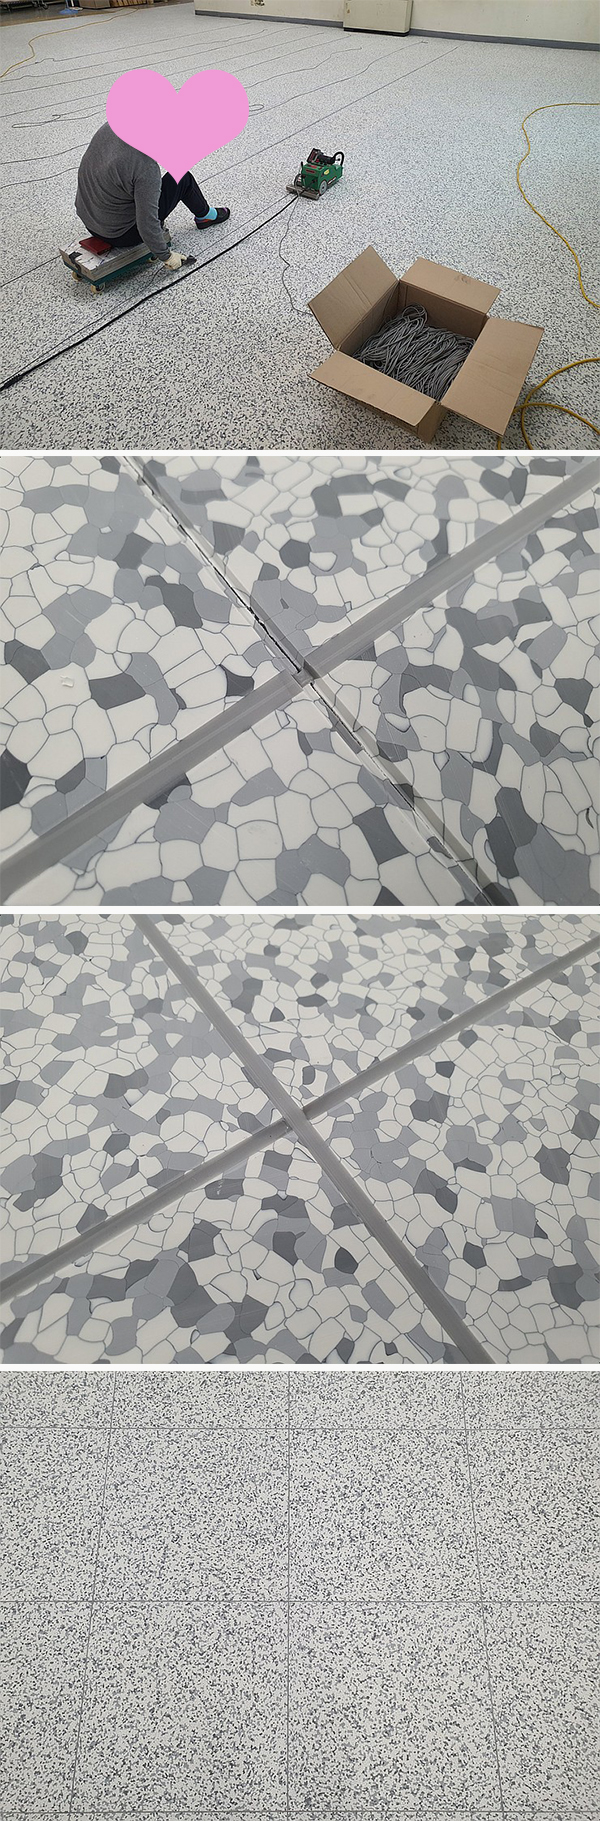
Step 3:
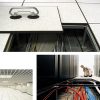
Glue the tiles, and lay copper strips inside the tiles to ground before installing ESD floor.
Step 4:
Use a V-shaped cutter, cut about 2/3 of the flooring to open V-Shaped groove.
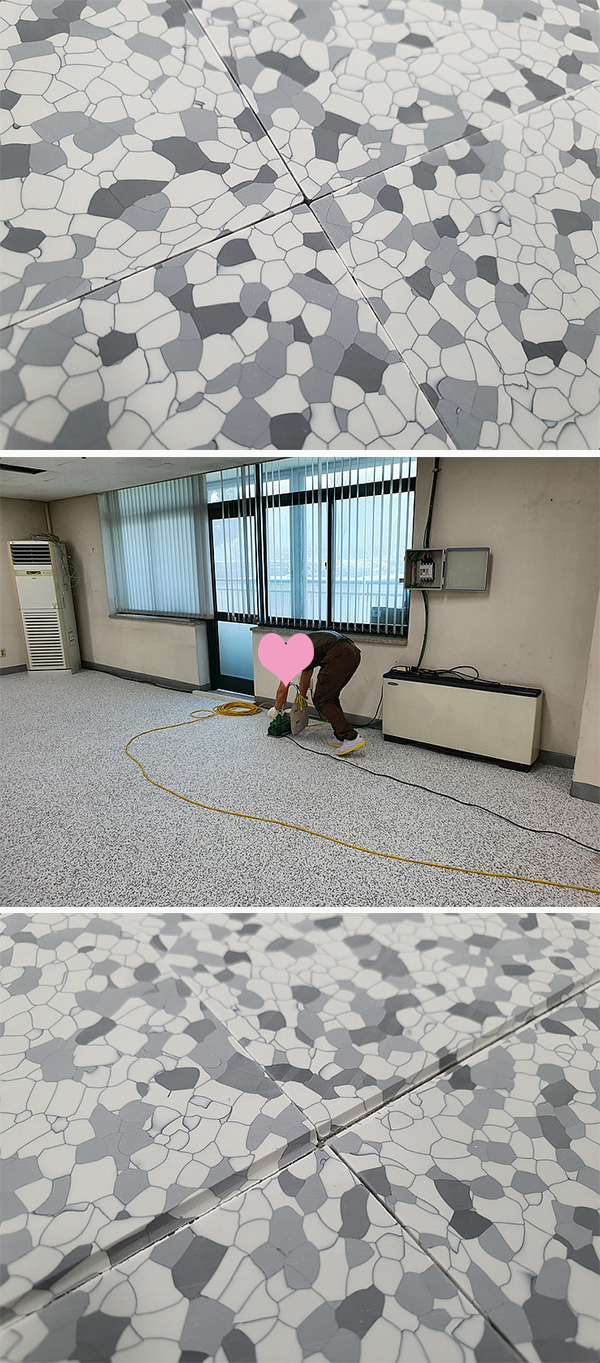
Step 5:
Laying welding rods.
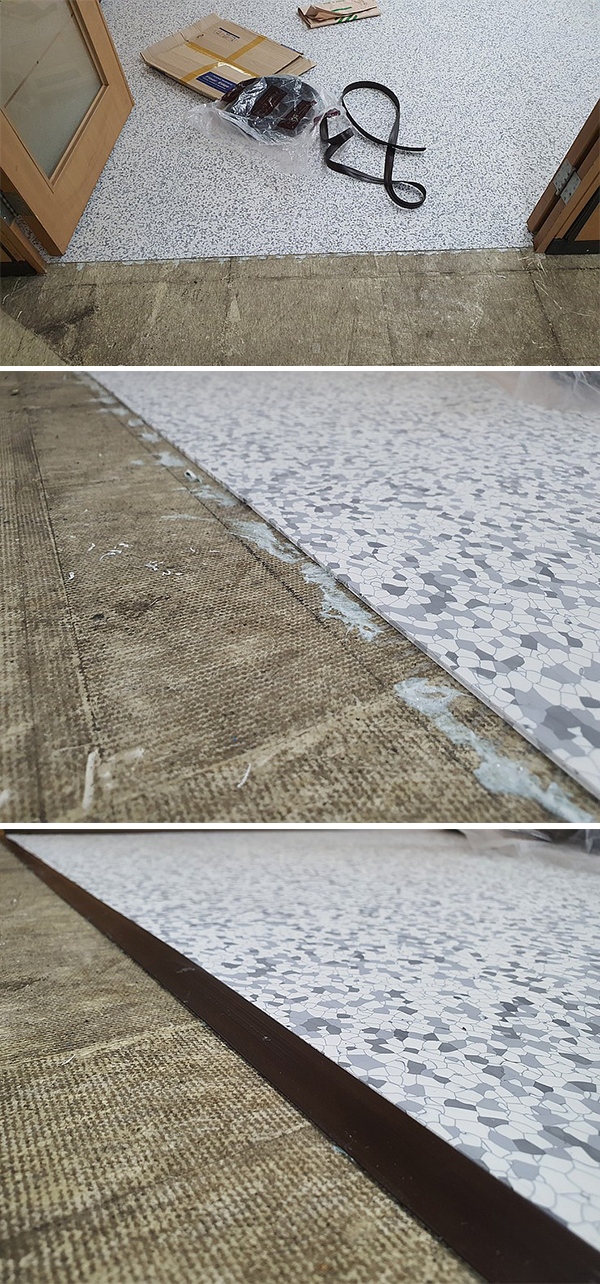
Step 6:
Steps at the entrance with a soft finish.
Step 7:
Test electronic resistance on the ESD floor surface.
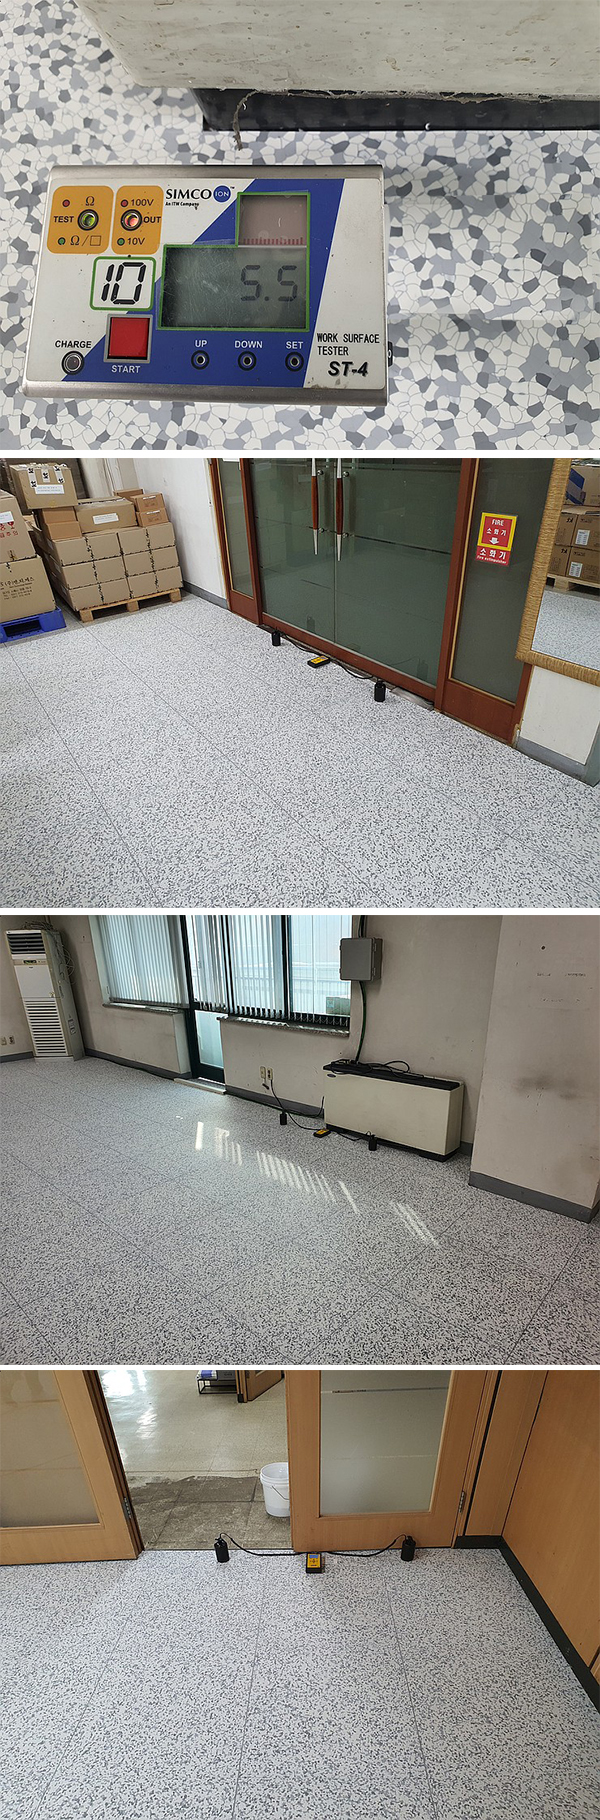
Welcome to visit this link about electronic resistance test: https://www.youtube.com/watch?v=fy4hCQCPjq8
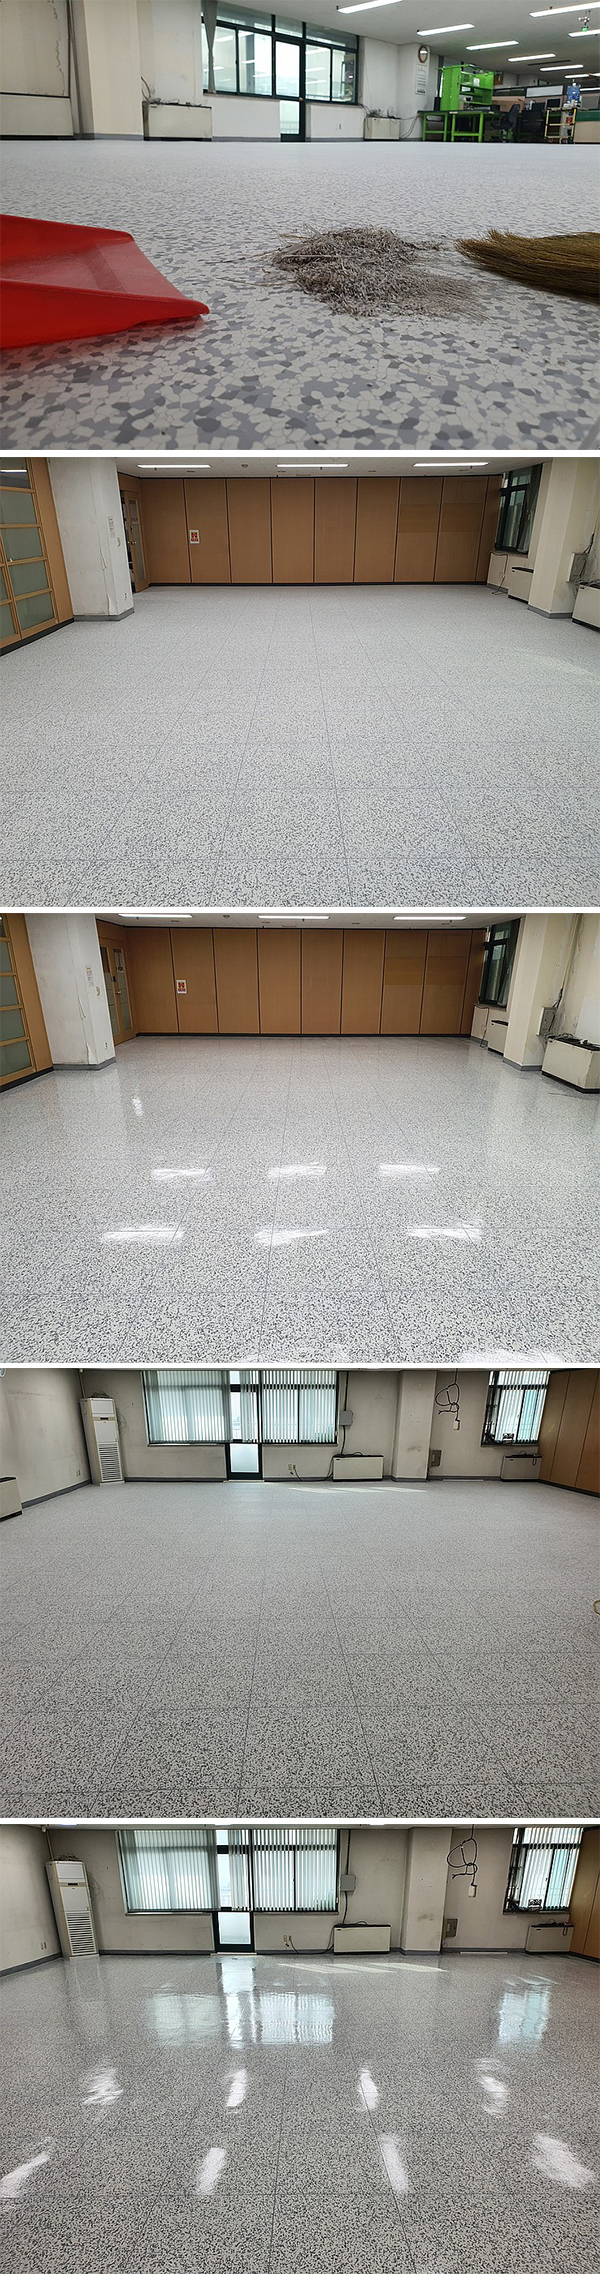
Step 8:
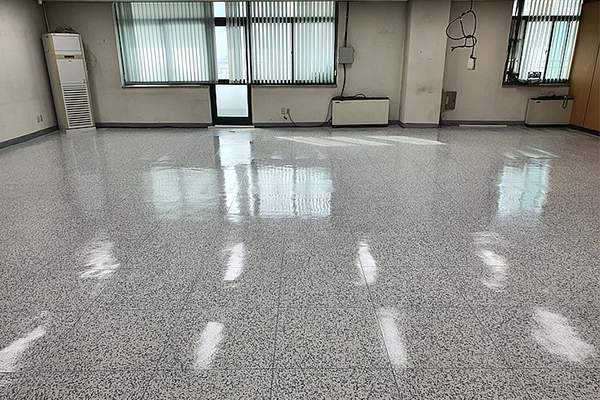
After the ESD floor installation, remove the dust on the installed floor and cover it with conductive wax.
About detailed installation, welcome to visit this video: https://www.youtube.com/watch?v=3E69wAQDbec